
Fractal Fret Press User Guide
Thank you for your interest and purchase of the Fractal Fret Press (pat. pend)! This tool turns an otherwise challenging task to master into a breeze. Major guitar manufacturers, luthiers, and repair shops have already adopted the Fractal Fret Press as an indispensable asset. Many claim their output has doubled while quality has increased! If you have any questions or problems, please reach out to me at Jerame@Jedwardsguitars.com
IMPORTANT!- Please ensure you have a high level of understanding of the fret tang width to fret slot width relationship. Measure your fret saw, your slot and tang width and depth to confirm proper fitment. I have found that this is a woefully underdiscussed topic. If you have questions please reach out! I am happy to help educate. It only takes <150lbs of pressure over the 1.5” span of the tool to seat a properly sized fret into the average fretobard. That’s only 12-15lbs (~70kg) at the lever of the StewMac arbor press. When compression fretting with oversized tangs, pressure may increase to 250lbs or around 25lbs on the leaver. Anything higher than that may be considered not properly sized in width or depth. When refretting, make sure you clean out the slots thoroughly. If you are finding you have to lean into your arbor press, STOP and check your slots!
Like any job well done, success is achieved in the preparation stage. The fret slots must be accurately sized and cut. This will be the most significant point of failure in any fret install with any tool. If your slots are too narrow for the fret tangs, excess force will be required to install the frets. Like every fret install, the fret wire must be pre-bent to closely conform to the radius. Some installers like to have the frets bent to the exact radius, while others aim for a slight overbend. Either method works well if fret slots are accurately sized.
The Fractal Fret Press will seat a fret to the surface of the fretboard very tightly. If your fingerboard is well prepared, you may find that you will need little to no fret leveling.
This is a precision tool. Mechanical discernment should be exercised when using this tool. Because of the small size of the articulating components, care must be taken not to over-exert the tool.
A demonstration of the tool being used can be found on my Instagram: https://www.instagram.com/p/Czsbl3ruAY6/?img_index=1
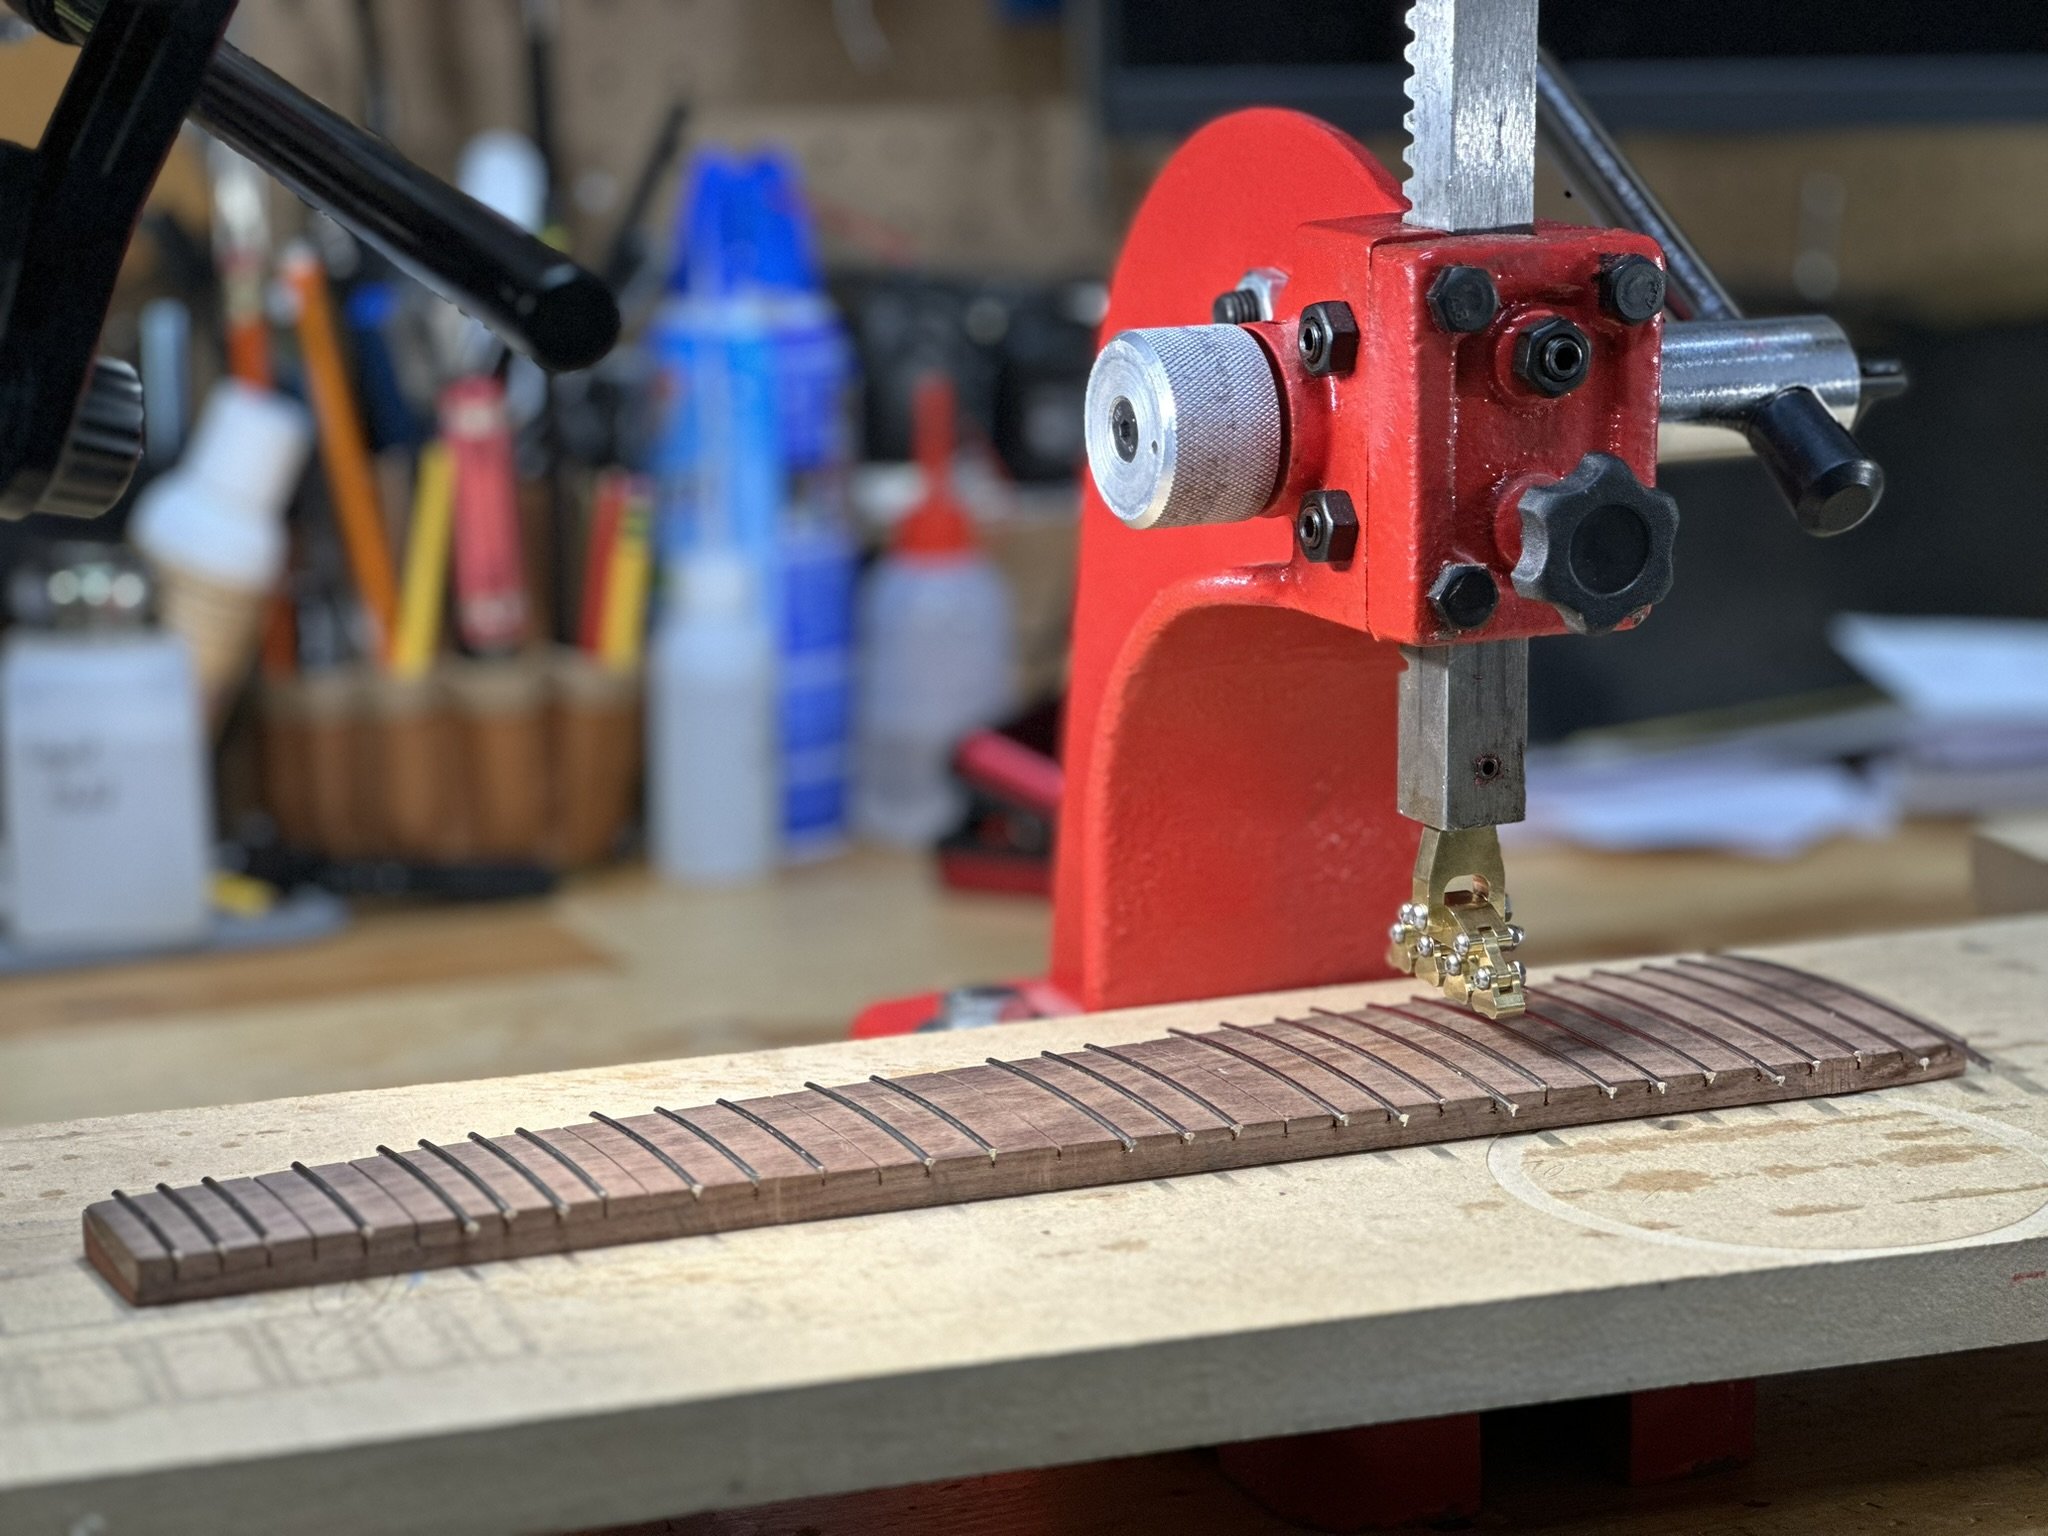
Basic instructions are as follows:
-Insert the tool into an arbor press (⅜”) or chuck it into a drill press
-Orient the contact points of the feet to face the fret
-Maintain parallel with the fret within 5 degrees
-Do NOT over-press with excessive force or use a stabbing/hammering motion.
-Maintain contact with all eight pressure points on the fret to distribute pressure evenly.
Frets that are longer than the tool's width will require you to reposition the tool over different portions of the fret. This tool cannot press fret portions that it is not in contact with. It is not compatible with frets that are smaller than the tool's width.
With the fret resting on the slot (you may use a hammer to tap the fret ends into the edges of the fingerboard), gently press the tool on the bass or treble side of the fret to begin seating it. Do not completely seat the fret.
Raise the tool and position it to the other side of the fret. Give a gentle press to begin seating that side.
Repeat going back and forth until the fret is evenly seated, usually 2-4 presses per side. This technique yields the most consistent results for all fret materials and radii.
In some cases, you may completely seat part of a fret. This technique applies to nickel frets that are of average size. This does not deform frets beyond elasticity. Frets will retain their bent shape as the rest of the fret is seated. This is how I use this tool. Please test on scrap before attempting the “full send” method to ensure your fret wire and specified radius will yield the desired results.
Please reach out to me if you have any questions. I am happy to help!